Table of Contents
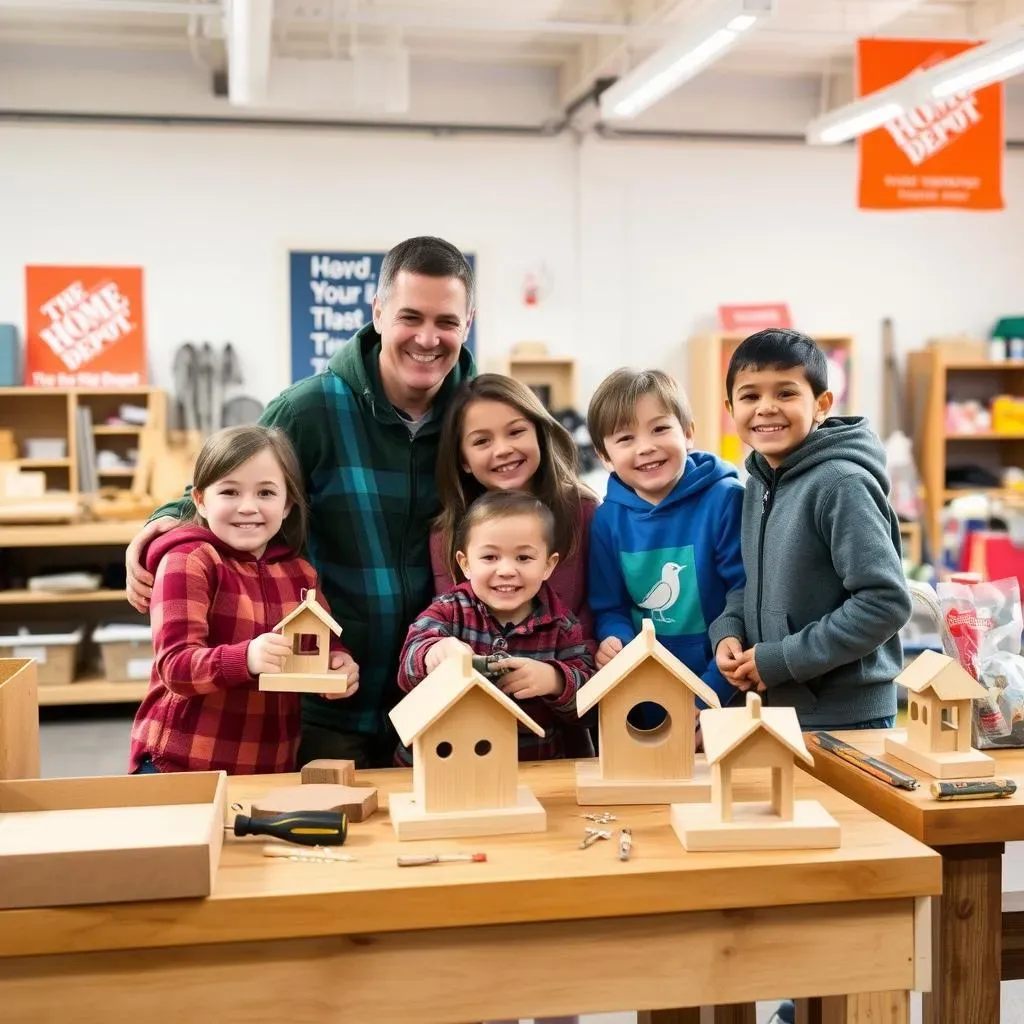
Hey there, builders and bird lovers! Have you ever wanted to create something awesome with your own hands, and then watch little birds enjoy it? Well, you're in luck! The Home Depot Kids Workshop offers a fantastic project: building your very own bird feeder! This isn’t just any bird feeder; it’s a chance to learn some cool building skills, get creative with colors, and make a cozy spot for our feathered friends. This article will guide you through the whole process, from gathering your tools to hanging your finished masterpiece outside. We'll start by making sure you have everything you need from your Home Depot Kids Workshop bird feeder kit. Then, we'll go step-by-step on how to put it all together. Next, get ready to unleash your inner artist as we explore fun ways to decorate your feeder. Finally, we’ll talk about the best way to hang it up and enjoy the birds that visit. Let’s get building!
Gathering Your Supplies for the Home Depot Kids Workshop Bird Feeder
Gathering Your Supplies for the Home Depot Kids Workshop Bird Feeder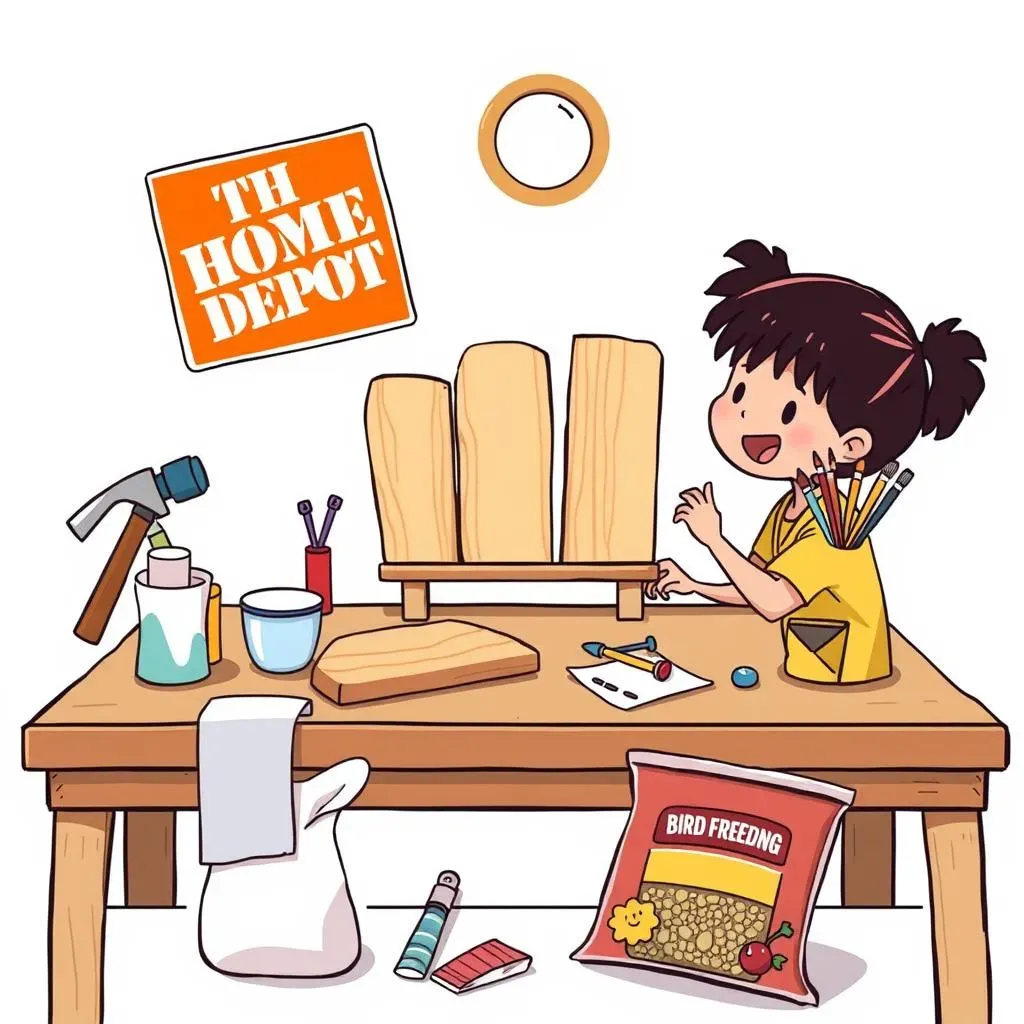
What's in the Box?
Okay, so you've got your Home Depot Kids Workshop bird feeder kit, right? Awesome! First things first, let's see what goodies are inside. Usually, you'll find pre-cut pieces of wood that will become the bird feeder's walls, roof, and base. There's also a small bag of nails and maybe some screws, depending on the kit. Don't worry if it looks like a jumble of wood at first; it'll all make sense soon, I promise! Think of it as a puzzle, but way more fun because at the end, birds will eat from it!
It's super important to check that you have all the pieces listed on the instructions. Missing one piece can throw off the whole project, and nobody wants a wobbly bird feeder! If you're missing something, you might want to check with Home Depot. Beyond the kit, we're going to need a few extra items. So, grab your hammer, some paint, and paintbrushes. And, of course, you'll need some birdseed to fill it up once it's done. It is like making a mini restaurant for birds, and we should always have the food ready.
Item | Purpose |
|---|---|
Pre-cut wood pieces | Bird feeder walls, roof, base |
Nails/Screws | To hold pieces together |
Hammer | To hammer the nails |
Paint | To decorate the bird feeder |
Paintbrushes | To apply the paint |
Birdseed | To fill the bird feeder |
Extra Tools and Goodies
Now, while the kit has most of what you’ll need, a few extra things can make the process smoother and a whole lot more fun. A small cup of water and some paper towels are always handy to clean up any paint spills. Also, if you have them, a small piece of sandpaper can be useful to smooth out any rough edges on the wood. It’s like giving your bird feeder a little spa treatment before it goes outside. Some people also like to use wood glue to make the feeder extra sturdy, but that's optional.
Finally, think about where you're going to hang your bird feeder. If you're going to hang it on a window, you might need some suction cup hooks. If you're planning to hang it from a tree, some string or twine will do the trick. It is like choosing the perfect table for your restaurant, we need to make sure that it is accessible, and safe for the birds. Make sure that the hooks are strong enough to hold it, especially when it’s full of birdseed, otherwise, you might end up with a mess.
- Small cup of water
- Paper towels
- Sandpaper (optional)
- Wood glue (optional)
- Suction cup hooks or string/twine
StepbyStep Guide to Assembling Your Bird Feeder Kit
StepbyStep Guide to Assembling Your Bird Feeder Kit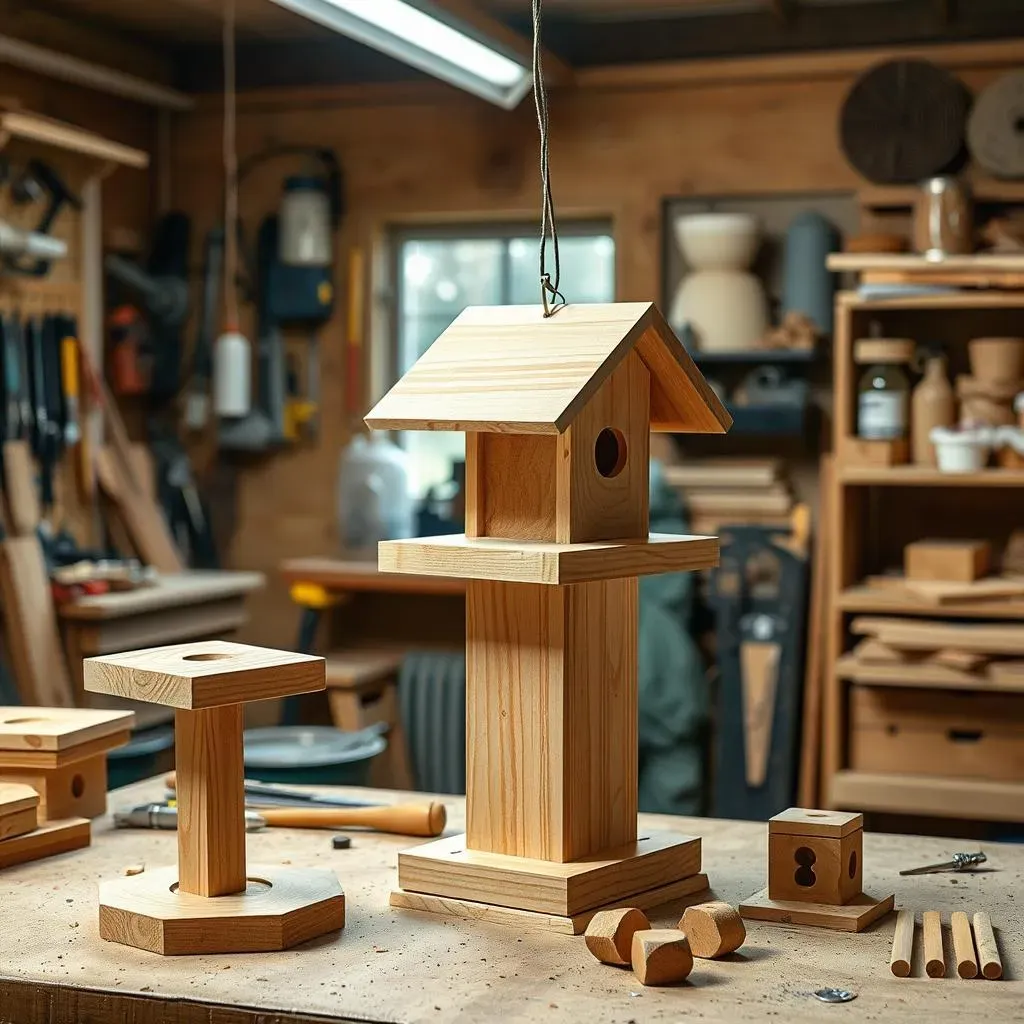
Getting Started: The Base
Alright, let's get our hands dirty! First up, we're going to build the base of the bird feeder. Grab the piece of wood that looks like it's going to be the bottom of your feeder. It’s usually the biggest and flattest piece. Now, find the side pieces, they should match and fit on the sides of the base. Look at your instructions to see exactly how they should fit. Usually, they will line up on the edges of the base.
Carefully line the first side piece up with the edge of the base and hold it there. Now, grab your hammer and some nails. Start hammering the nails in. Remember, it's like giving the wood a little tap-tap massage. Don't hit the nails too hard, or you might split the wood. Just enough to get them in there nice and snug. Do the same for the other side piece. Once both side pieces are attached, you should already see a little box starting to form. It’s like the walls of our bird's mini-mansion are starting to take shape!
"The best way to learn is by doing. Even if you make mistakes, that's how you learn and get better." - A wise builder
Building Upwards: The Walls and Roof
Next, we’re going to add the front and back pieces. These are usually a bit smaller than the side pieces. They’re going to close off our little box and make it a proper bird feeder. Again, line up the edges and start nailing. Make sure the pieces are flush with the sides and base, or else your bird feeder might look a little wonky, but a wonky bird feeder is still a good bird feeder, in my opinion. It's like adding the last walls to your fort, and it's getting really exciting now.
Now, for the roof! This is usually two pieces of wood that form a triangle shape, or a mini house roof. Carefully position them on top of the walls and nail them in place. Make sure they overlap a little bit, like a real roof. It’s like giving our bird feeder a hat to keep the rain out. At this point, your bird feeder should be looking more and more like a bird feeder. If you’ve got some wood glue, you can add a bit to the joints for extra strength, but it’s not always necessary, it just adds a little extra insurance.
Step | Action | Tips |
|---|---|---|
1 | Attach side pieces to base | Align edges carefully, don't hammer too hard |
2 | Attach front and back pieces | Ensure pieces are flush with sides and base |
3 | Attach roof pieces | Overlap slightly, add glue if desired |
Attaching the Tray
Almost there! Now, let’s add the little tray where the birdseed will go. This is usually a small, flat piece of wood that slides into the bottom of the bird feeder, or is attached to the bottom. It’s like putting a plate on the table for the birds. If your kit has a tray that slides in, carefully slide it into the slots at the bottom of the bird feeder. If it needs to be nailed on, place it at the bottom and nail it to the bottom of the feeder.
Make sure it’s secure, because that’s where the birdseed will sit and we don't want it to fall out. Double-check all your nails, make sure they are all in and not sticking out. Now you have your bird feeder assembled. You’ve built a little house, and it's ready to be painted! It’s like we’ve built the walls and now it’s time to decorate.
- Double-check all the nails
- Make sure all the pieces are secured
- The tray should be attached to the bottom
Creative Ideas for Decorating Your Home Depot Bird Feeder
Creative Ideas for Decorating Your Home Depot Bird Feeder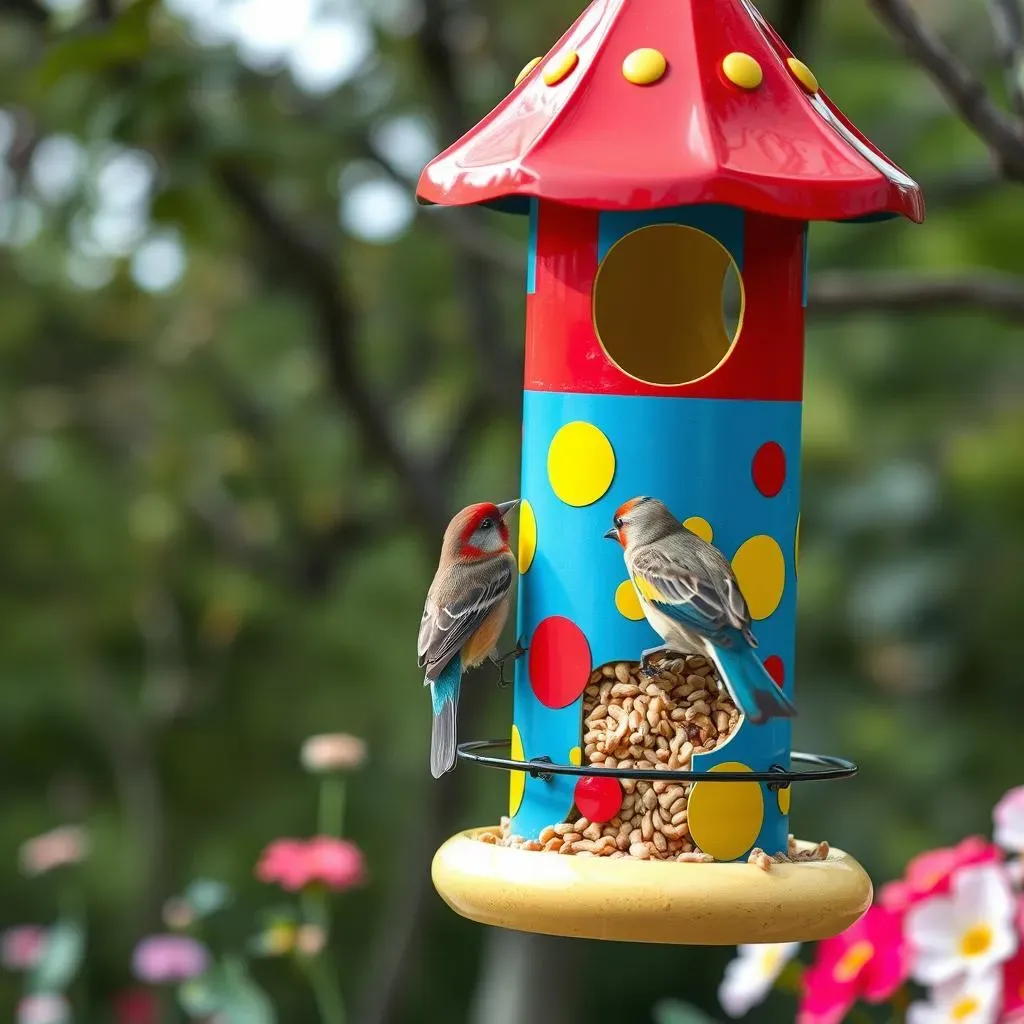
Unleash Your Inner Artist
Alright, the building is done, and now comes the fun part – decorating! This is where you can really make your bird feeder your own. Grab your paints and brushes, and let your imagination run wild. You can choose any colors you like, but it’s always a good idea to think about what might attract birds. Bright colors like red, blue, and yellow can catch their eye, but you can also go for natural tones like greens and browns if you want your feeder to blend in with the surroundings. It's your bird feeder, so you get to decide how it looks! It is like getting to design your own house, and no one can tell you how to do it.
Don't be afraid to get creative with patterns and designs. You can paint stripes, polka dots, or even try to create a little scene on the sides of your feeder. Maybe a little forest, or some flowers. You can even add some small details like a tiny bird or some leaves. If you're feeling extra fancy, you can use stencils to create shapes or letters. Just remember to let the paint dry completely before you start using your bird feeder. We don’t want any sticky birds!
Color | Effect |
|---|---|
Red, Blue, Yellow | Attract birds |
Green, Brown | Blend with surroundings |
Any color | Express your own style |
Adding Personal Touches and Finishing Up
Once the base coat is dry, you can add some extra touches to make your bird feeder even more special. Consider using non-toxic markers to draw some lines, add little dots, or even write your name on it. If you have some small, waterproof stickers, those can work too, just make sure they are safe for the birds. You could also try using some wood-burning tools to create some designs, but make sure you have an adult helping you with that. It's like adding the perfect decorations to your house and making it a home.
Before you hang up your feeder, give it a final look over. Make sure all the paint is dry, and all the pieces are securely attached. If you're using suction cup hooks, attach them to the feeder, and you're ready to go! If you're using string or twine, thread it through the top of the feeder so you can hang it from a tree branch. Now, all that’s left is to add some birdseed and find the perfect spot for your new bird feeder. It's like finally opening the doors to your restaurant and waiting for the customers to arrive!
- Use non-toxic markers for details
- Apply waterproof stickers
- Use wood-burning tools with adult supervision
- Attach suction cup hooks or string/twine
Enjoying Your Finished Bird Feeder and Watching Your Feathered Friends
Enjoying Your Finished Bird Feeder and Watching Your Feathered Friends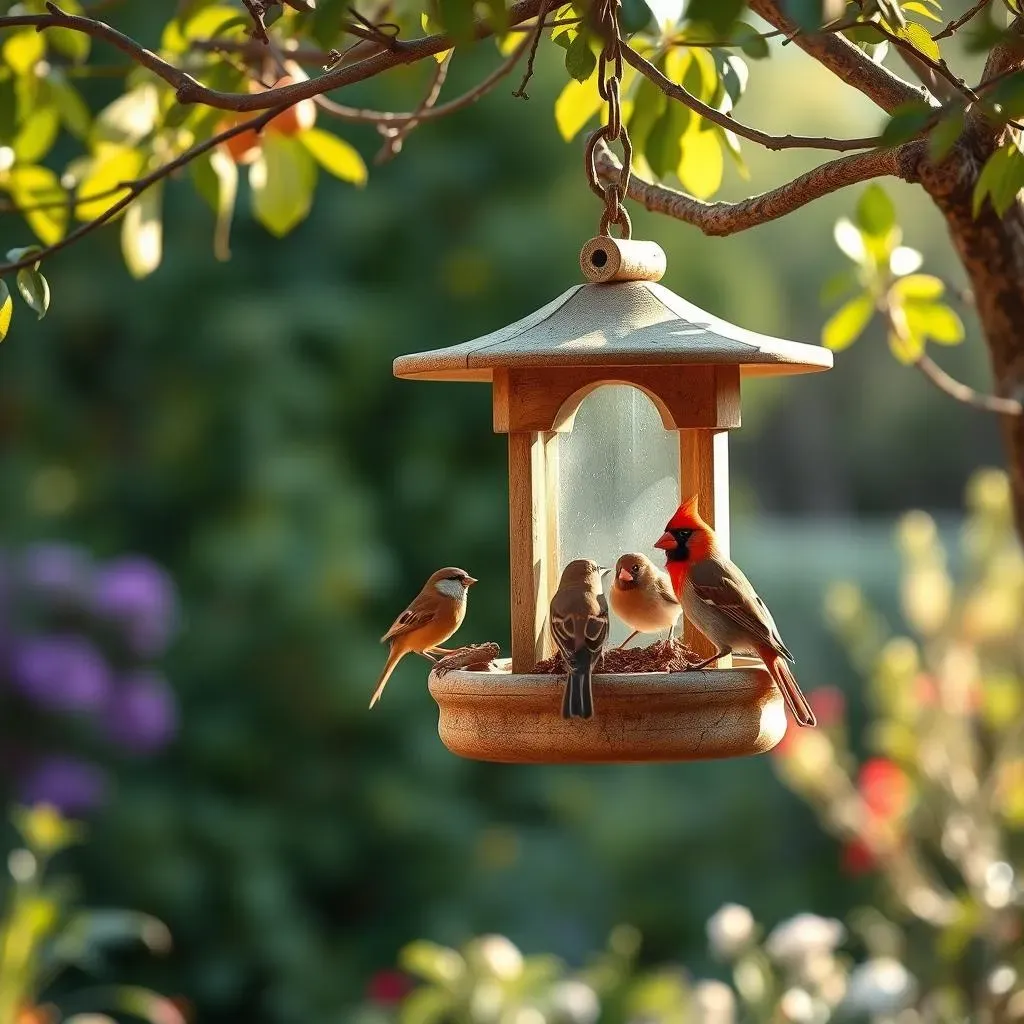
Finding the Perfect Spot
Okay, so your bird feeder is built, painted, and looking fantastic! Now, where should you put it? The location is key to attracting birds. If you’re using suction cup hooks, a window that’s easy to see from inside is perfect. It's like having a bird show right in your living room! Make sure the window is clean so the suction cups stick well, and avoid windows that get direct sunlight all day, because that might make the birdseed too hot. If you are using string or twine, look for a tree branch that’s not too high, where you can easily see the birds, and that’s safe for them to land on. It is like finding the perfect table with a view for our customers, we need to make sure that it is comfortable and accessible.
Think about where you will be watching from. You want to be able to see the birds without disturbing them too much. Try to pick a location that is a little sheltered from strong winds and rain. This will keep the birdseed dry and make it easier for the birds to feed. It’s also a good idea to keep the feeder away from places where cats might be able to reach it. We want our little birds to have a safe and peaceful dining experience. It is like choosing the perfect spot for a restaurant, we need to make sure that the location is safe and welcoming for our guests.
Filling Up and Waiting for Visitors
Once you’ve found the perfect spot, it’s time to fill your bird feeder with birdseed! There are lots of different types of birdseed you can use, but a mix of sunflower seeds, millet, and peanuts is usually a good choice. It's like preparing the menu for your restaurant, we need to make sure that we have something that everyone will enjoy. Fill the tray or the container with the seed, and don’t overfill it. You might want to put a little extra seed on the tray the first time to get the birds’ attention, just like how restaurants sometimes offer free samples.
Now, the most exciting part: waiting for the birds to come! It might take a little while for them to discover your new feeder, so be patient. Keep an eye out of the window, and you might start seeing some feathered visitors soon. When they come, try to stay quiet and move slowly so you don't scare them away. It’s like waiting for your first customer, and when they come, it’s a really exciting moment! Be prepared to be amazed by the different kinds of birds that might visit your feeder, it’s a real-life nature show, and you have the best seats in the house.
"The early bird catches the worm, but the patient bird watcher sees the most." - A bird enthusiast
Enjoying the Bird Show
Watching the birds come and go is a truly amazing experience. You might see small, colorful birds like finches and sparrows, or maybe even some larger birds like blue jays or cardinals. Each bird has its own personality and way of feeding. Some birds might be shy and only visit when it’s quiet, while others will hop right up and eat without any hesitation. It’s like watching a variety of customers at a busy restaurant, each with their own preferences and style. Take some time to observe them, and you’ll start to notice all the little details that make each one unique.
Remember to keep your bird feeder clean and filled with fresh seed. Clean it every few weeks with warm, soapy water to remove any old seeds or bird droppings. This will help prevent the spread of diseases among the birds. It is like keeping the restaurant tidy for our customers, we want to make sure that it is always a clean and safe place to eat. By taking care of your bird feeder, you’ll not only be providing a valuable food source for the birds but also creating a wonderful opportunity to connect with nature right outside your window.
- Observe different types of birds
- Clean your bird feeder regularly
- Keep your feeder filled with fresh seed